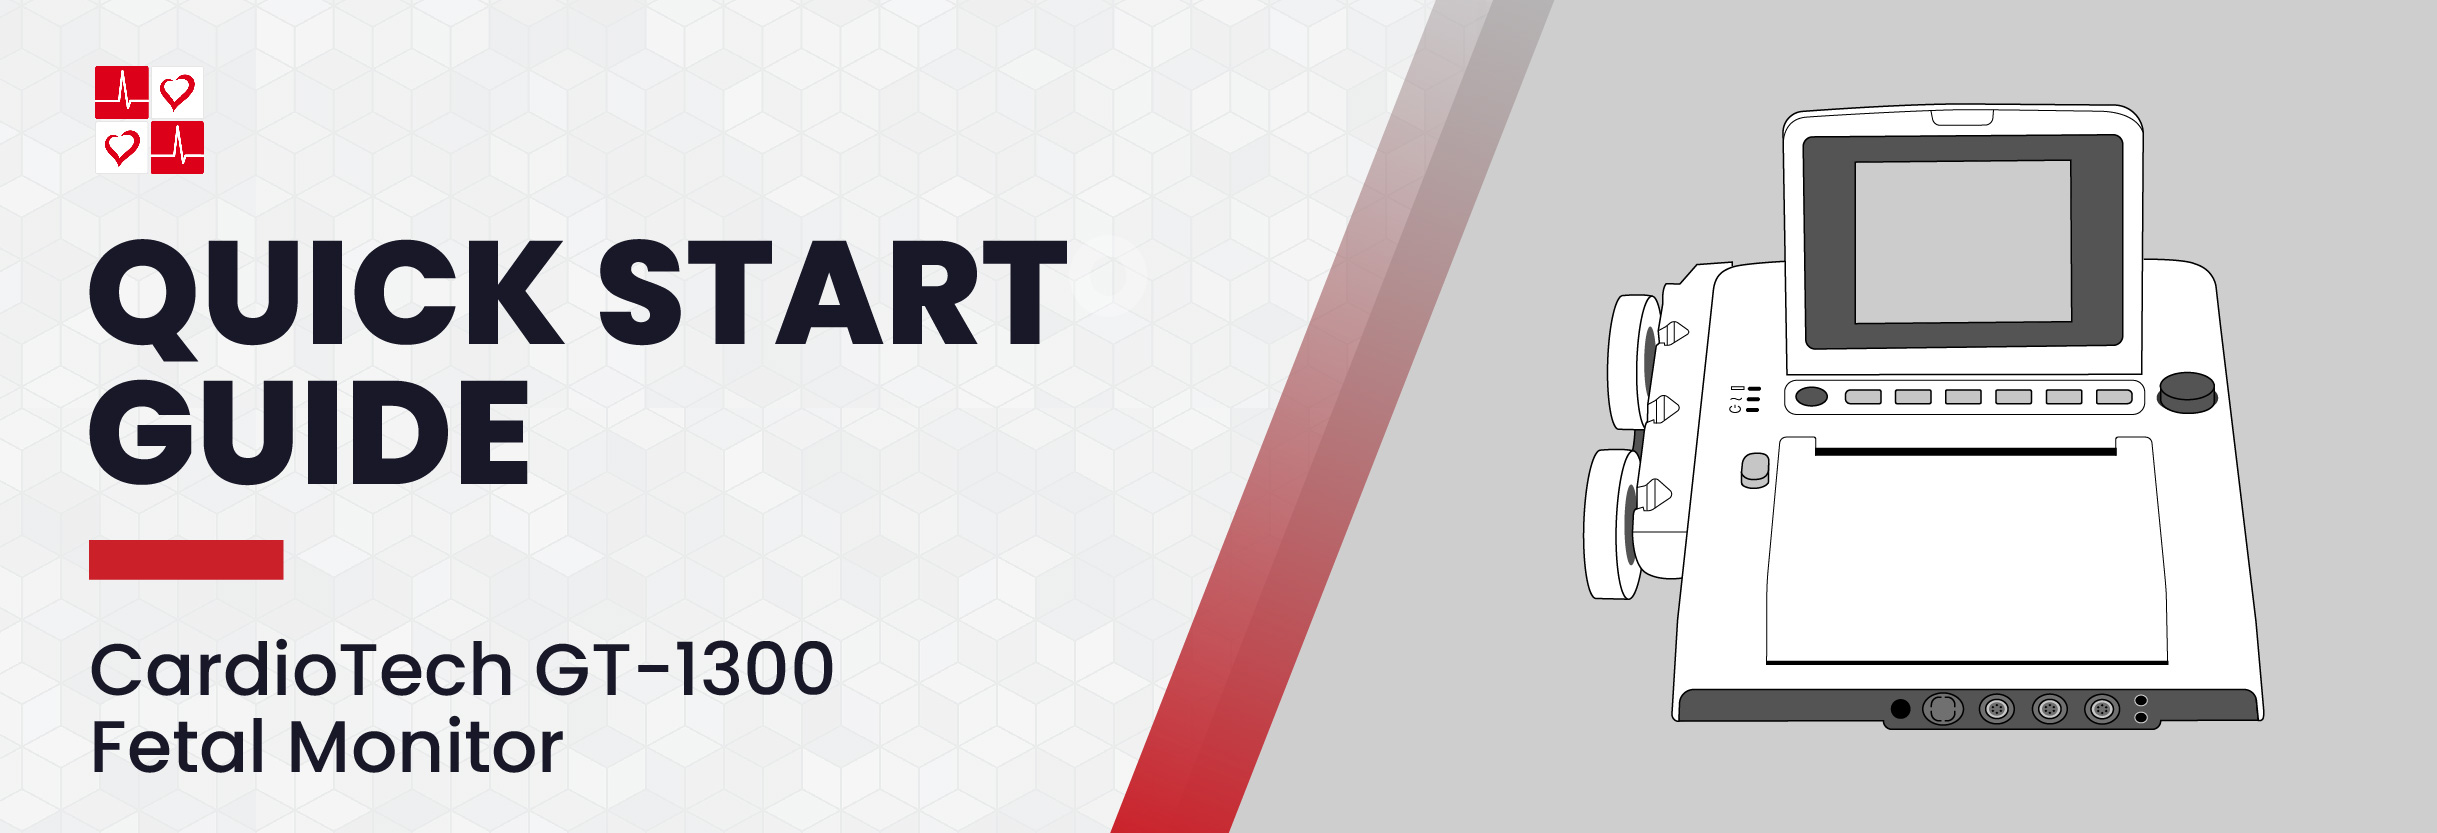
CardioTech GT-1300 Fetal Monitor Quick Setup Guide

Basic Setup
Powering on the CardioTech GT-1300 Fetal Monitor
- Gently flip the CardioTech GT-1300 Fetal Monitor upside down (screen side down) to reveal the underside of the machine.
- Use the included screwdriver to unscrew the battery compartment cover off.
- Place the battery in the compartment, with the white tab on the right hand side. Then, push the battery to the left. You will hear a click when the battery is secure.
- Replace the battery compartment cover, and revert the machine back to its original position.
- On the top backside of the GT-1300 screen, slide the latch to the left and lift to prop the screen up and adjust the viewing angle. You will hear a click when the screen is locked in position.
- Plug one end of the AC Power Cable into the power supply socket (located towards the bottom left back side of the unit). Plug the other end into an AC Wall Outlet.
- Press the power button on the machine to power on. Wait until the parameters are present on screen.
- The CardioTech GT-1300 is now ready to be used.
How to Install Paper on the CardioTech GT-1300 Fetal Monitor
- First, ensure the first sheet of paper is the red grid facing upwards.The left side will be used to record FHR, and the right will be used to record TOCO.
- Press the button to the left of the printer to open the printer door.
- Insert the paper under the small metal bar.
- Pull off the first sheet up, and close the printer door. Pull the paper through.
- The CardioTech GT-1300 is ready to print.
Troubleshoot Issues
Single FHR is Reading 20 BPM Higher than Normal
When measuring a single FHR, be sure to plug the probe into the FHR1 port, not the FHR2. The FHR2 is set at 20 BPM higher than FH1, so medical professionals can distinguish between both heart rates.


