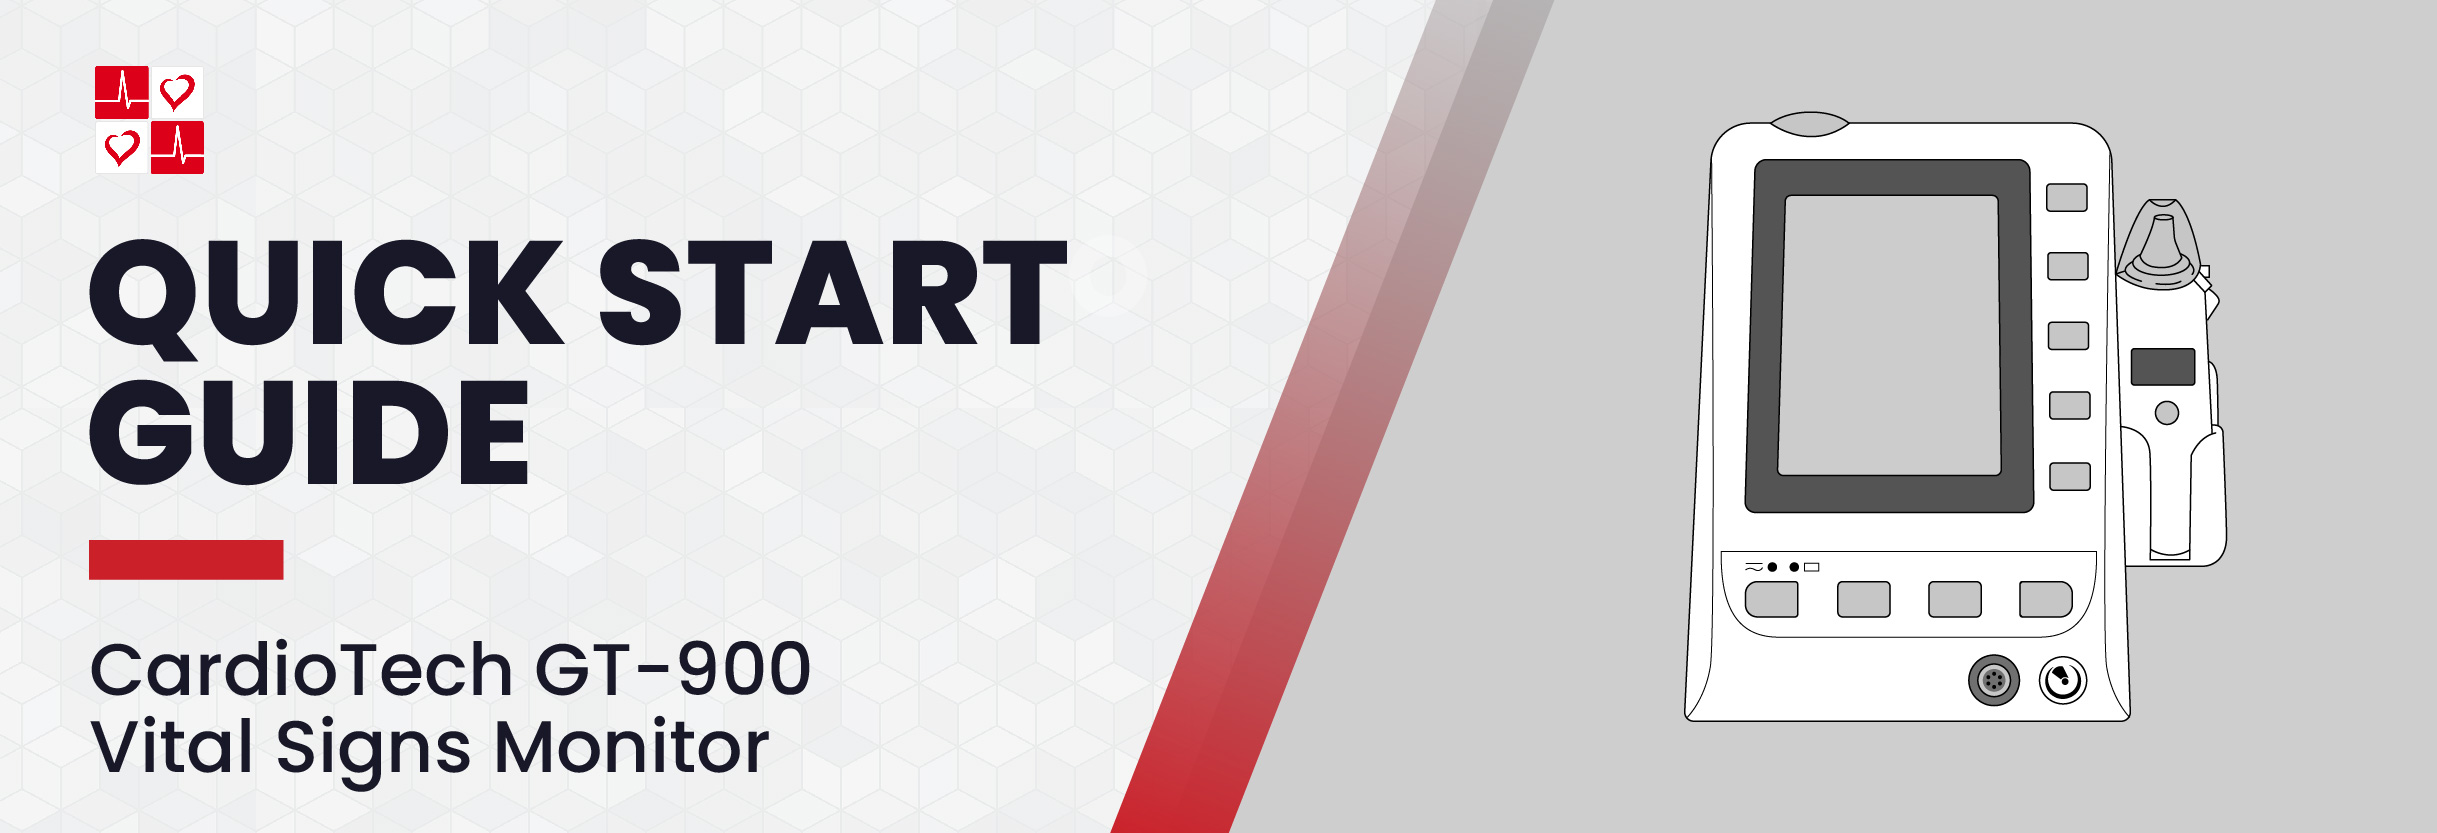
CardioTech GT-900 Vital Signs Monitor Quick Setup Guide

Basic Setup
Powering on the CardioTech GT-900 Vital Signs Monitor
- Place the CardioTech GT-900 on its back (screen side up) to reveal the underside of the machine.
- Lift and remove the bottom of the battery compartment cover.
- Place battery in the compartment. Ensure the code information is facing right before inserting.
- Replace the battery compartment. Ensure the barcode information is facing right before inserting.
- Plug one end of the AC Power Cable into the power supply socket, located towards the bottom left back side of the unit. Plug the other end into an AC Wall Outlet.
- Ensure both lights above the power button are on. Press the power button on the front of the unit (bottom left) to turn on the unit. Wait until the parameters are present on the screen.
- The GT-900 comes patient ready! The unit is now ready to use.
Before Taking an SpO2 Measurement
- Connect the SpO2 Sensor Cable to the SpO2 Connector Port, labeled ‘SpO2’, located towards the bottom right of the unit.
- Clip the SpO2 Sensor to the patient’s index or middle finger.
- Once attached, the sensor will start measuring SpO2 automatically.
Before Taking an NIBP Measurement
- Connect the NIBP Tube to the NIBP Cuff Connector Port, located towards the bottom right of the unit.
- Place the cuff on the patient’s arm, about one inch above the bend of the elbow. Ensure that the patient cuff matches the patient type on the GT-900.
- When you are ready to take a measurement, press the “NIBP Start/Stop Button”, which will inflate the cuff and start measuring.
- Once the blood pressure has been taken, NIBP will stop measuring and the cuff will deflate.
Configurations
Tympanic Temperature Module Setup
- Plug one end of the Ear Thermometer Communication Cable into the bottom of the Infrared Ear Temperature Module (Thermometer). Plug the other end into the TEMP port, located on the back of the TEMP Module holder.
- Unlatch the Probe Shield to reveal the probe.
- Align the center of the probe to the center of the probe cover. Insert the probe into the probe cover, located on the probe cover loader, until the probe cover clicks in place. Make sure the adhesive side of the probe cover is placed upward.
To Take a Reading:
- Press On/MEM button on the thermometer. An “ear” icon will display on the LCD of the thermometer, which will be followed by 2 beeps.
- Carefully tug the patient’s ear to create space for the probe to comfortably insert into the ear canal. Aim towards the eardrum to obtain an accurate reading.
- Press the blue “Scan” button, located on the back of the thermometer, for one full second. Once you hear a long beep, the measurement is complete and will be shown on the monitor.
Oral Temperature Module Setup
- Plug the Oral/Axillary Probe into the TEMP port, located on the back of the Oral/Axillary Probe holder.
- Remove the Oral/Axillary Probe from the Oral/Axillary holder to allow the probe to warm up. Once the probe beeps, a “Warm-Up Over” notification will appear on the screen.
- Place a probe cover over the sensor. The button near the handle will pop up when the probe cover is fully inserted and secure.
- To release the probe cover, press the button above the handle.
To Take a Reading:
- Press On/MEM button on the thermometer. An “ear” icon will display on the LCD of the thermometer, which will be followed by 2 beeps.
- Carefully tug the patient’s ear to create space for the probe to comfortably insert into the ear canal. Aim towards the eardrum to obtain an accurate reading.
- Press the blue “Scan” button, located on the back of the thermometer, for one full second. Once you hear a long beep, the measurement is complete and will be shown on the monitor.
Troubleshoot Issues
How to Change the Recording Interval
Go to:
> “NIBP”
> Select “NIBP Set Up”
> Configure time intervals to the parameters that you need
Adjust Trigger:
> “User Configuration Settings” > Select “NIBP Set Up”
> Turn on “Trigger”
How to Connect/ Turn on Recorder to Set Up Trigger Printer
Check that the printer module is “ON”
Go To: “Menu”
> Select “Maintain”
> Go to Factory Key, and input “9980”
> Select “Recorder”, and toggle from “OFF” to Vector”
Once the printer module is on, use the “Hot Key” in the top right-hand corner (with the adult and baby icons) to start recording.
How to Set Up Automatic Blood Pressure Readings
Go to:
> “System Menu”
> Select “NIBP Set Up”
> Turn “Inflation Mode” to “Auto”
> Select the interval of your choice
How to Set Up Trigger Printing
Go to:
> “System Menu”
> Select “Maintain”
> Enter User Password “9981”
In the User Maintain Menu: > Go to “Other Set Up”
> Select “NIBP Set Up”
> Turn Trigger to “ON”
How to Fix “Loose Cuff Error”
Check the age parameters on the display banner at the top of the screen.
– ADU: Adult
– PED: Pediatric
– NEO: Neonate
Check that the cuff size attached matches your patient type (i.e set to “ADU” for Adult Cuff, “PED” for Child Cuff, etc.)
If they do not match, use the “Hot Key” in the top right-hand corner (with the adult and baby icons) to toggle through the different patient types and adjust accordingly.


