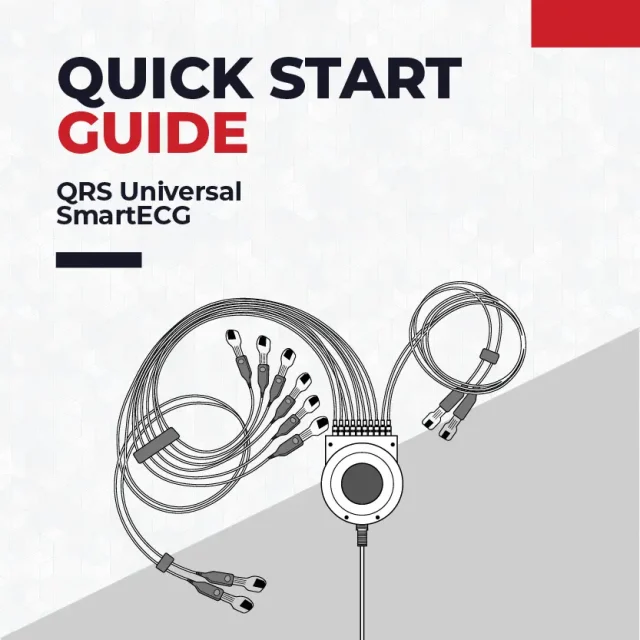
QRS Universal SmartECG Quick Setup Guide
Basic Setup
Installing Office Medic on a PC
- Remove all QRS devices from the PC, and close all programs.
- Insert the Office Medic CD-ROM. Press next.
- On the Windows toolbar, select Start/Run. Type d:\setup.exe in the Open dialog box, then proceed.
- Select ‘Office Medic’ to be installed.
- Select a language, then follow the instructions.
- When installation is complete, connect the QRS Universal SmartECG to the PC. Install the device driver.
How to Connect The QRS Universal SmartECG to a PC
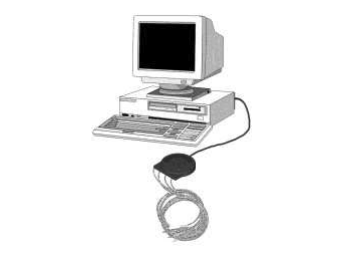
- Connect the patient cable to your PC via USB.
- Once inserted, the QRS Universal Smart ECG’s LED will turn on.
Note: The LED will blink continuously when the ECG is sending/receiving data. The LED will turn off when the ECG turns off.
For instructions on navigating the menu, please refer to the User Guide.
Performing an ECG Test
- Connect the ECG to the PC via USB.
- Choose an existing patient from the Patient Directory, or add a new patient.
- Prepare the patient’s skin by gently rubbing the area with gauze.
- Peel the electrodes from backing.
- Place each electrode onto their skin, adhesive side down.
- Attach the lead wires to the patient confirming correct lead placement. For a 12-Lead ECG placement guide, click here.
- Click the ‘Acquire Live’ ECG button to begin the recording.
Additional Information
For additional information on setting up the QRS Universal ECG and the Office Medic, please refer to the User Guide.


