GE MAC 5 ECG Machine Quick Setup Guide
How to Install the Battery and Connect to AC Power on the GE MAC 5 ECG Machine
Inserting the Battery
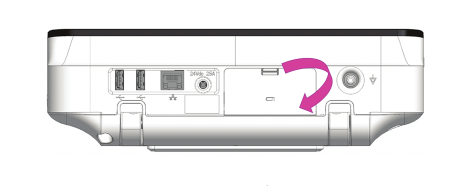
- Use your thumb to press down on the battery compartment door latch.
- Insert the battery into the compartment slot. Ensure the orientation is correct.
- Close the battery compartment door.
Connecting to AC Power
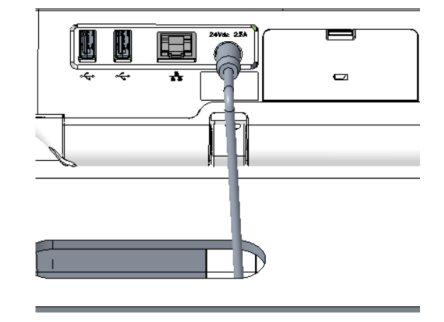
- Connect the appropriate end of the power cord to the AC/DC adapter.
- Plug the other end of the AC/DC adapter cord to the power connector on the back of the GE MAC 5.
- Plug the male end of the power cord into an AC outlet. If the AC Power LED is green, the GE MAC 5 is receiving power.
How to Install Paper on the GE MAC 5 ECG Machine
Installing Paper
For steps on adjusting the GE MAC 5 for a specific, compatible paper size, please refer to the Operator Manual.
Note: the GE MAC 5 Lite does not support paper printing.
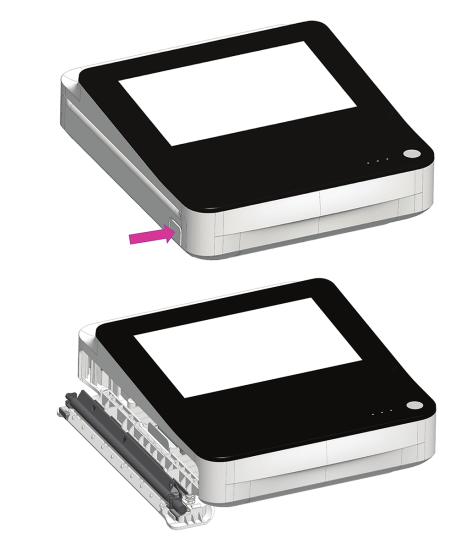
- Press the printer door button to release the printer door.
- Pull out the paper film and place the paper on top. Slide the paper into the printer until fully inserted. (If the paper has “Q holes”, the Q holes must be on the top left side. If the paper has “Q marks”, the Q marks must be on the bottom left side.)
- Advance the first sheet of paper, and push both ends of the printer door to close.
Additional Information
For additional information on setting up the GE MAC 5 Resting ECG Machine, please refer to the Operator Manual.


